


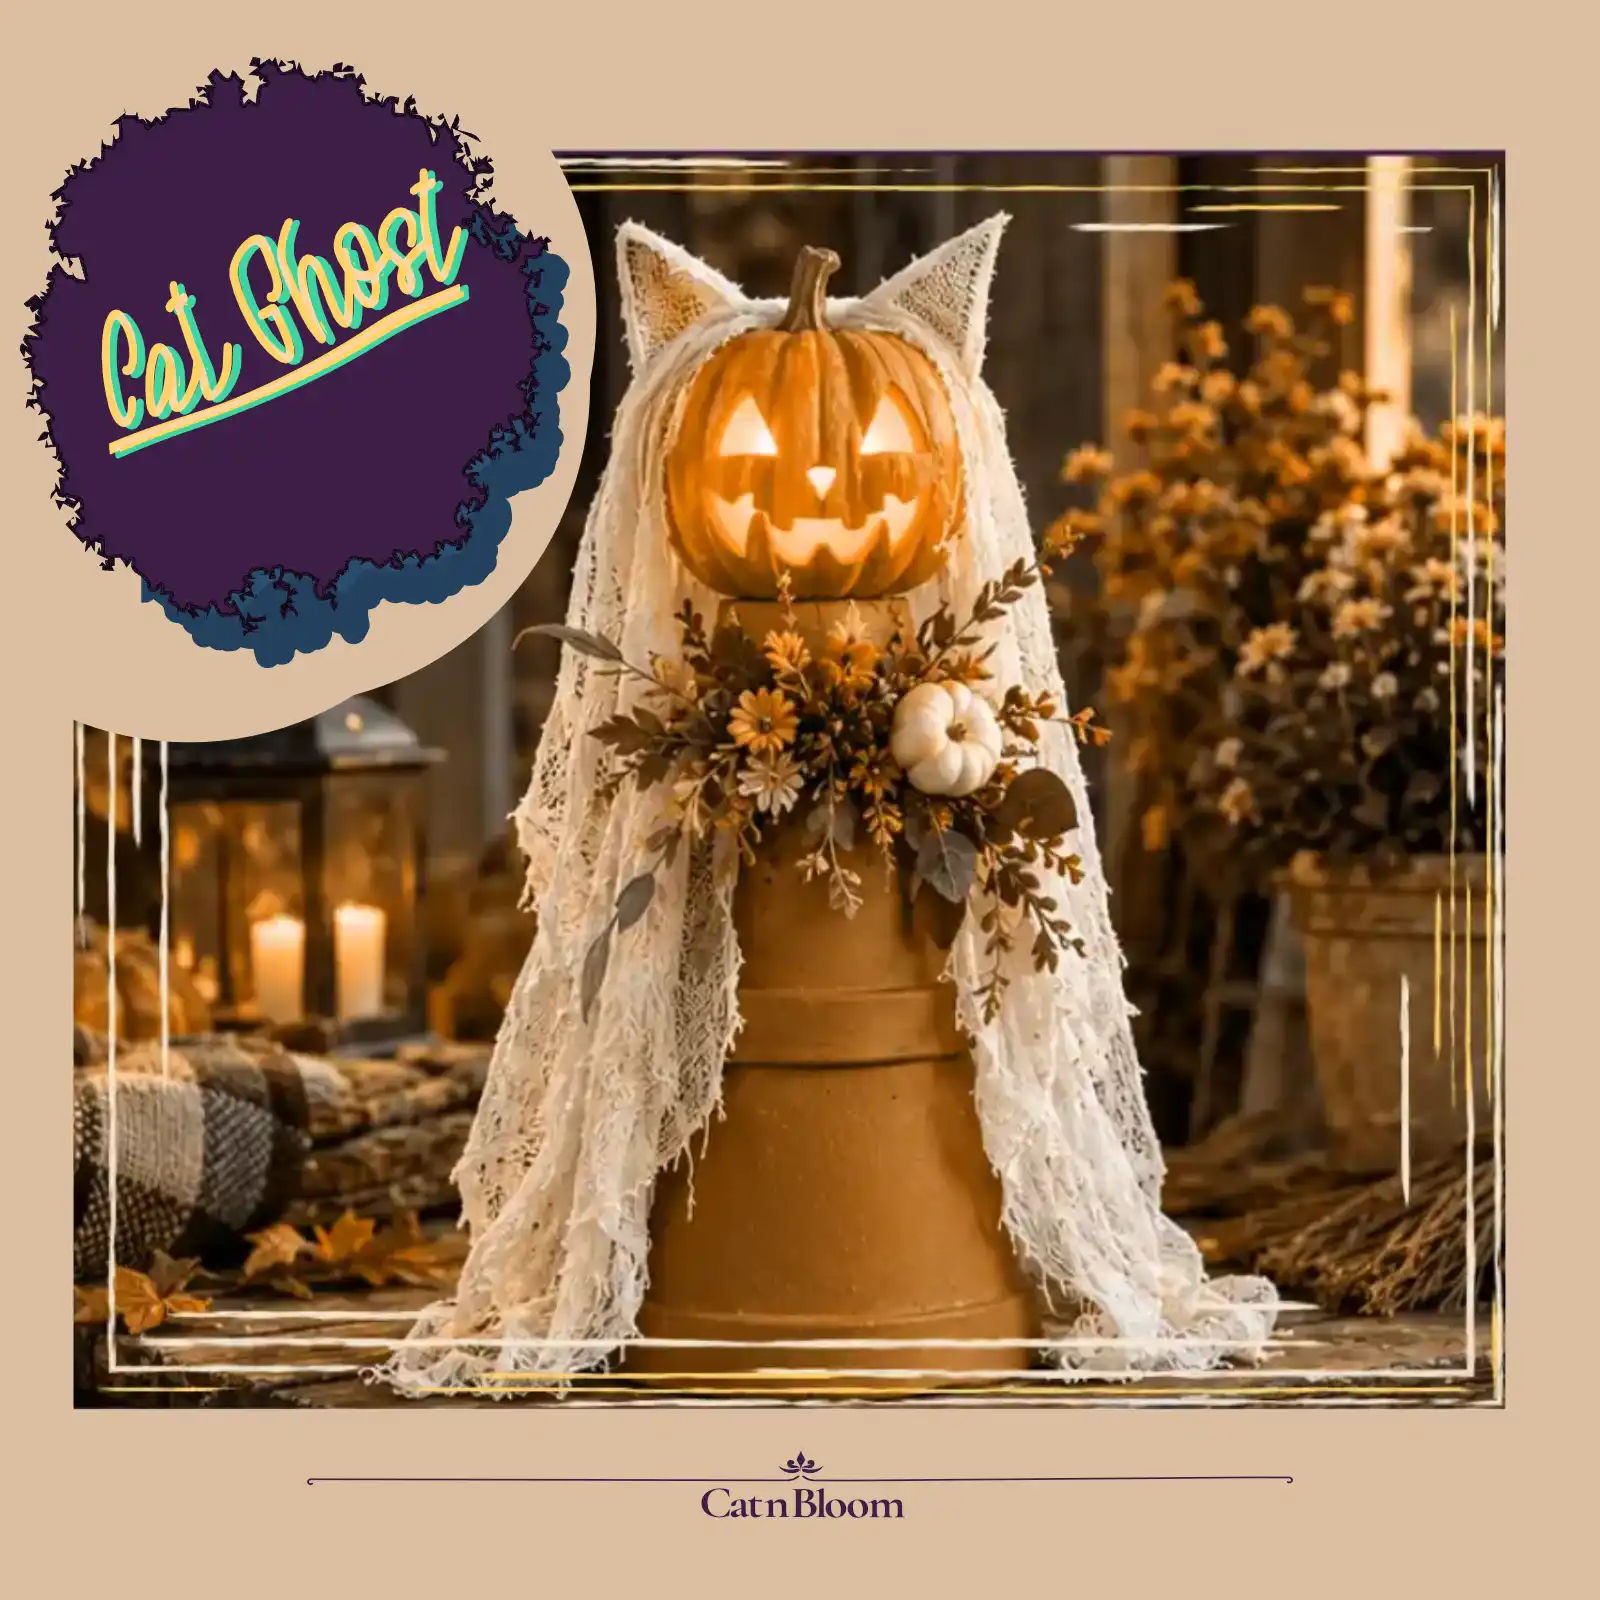
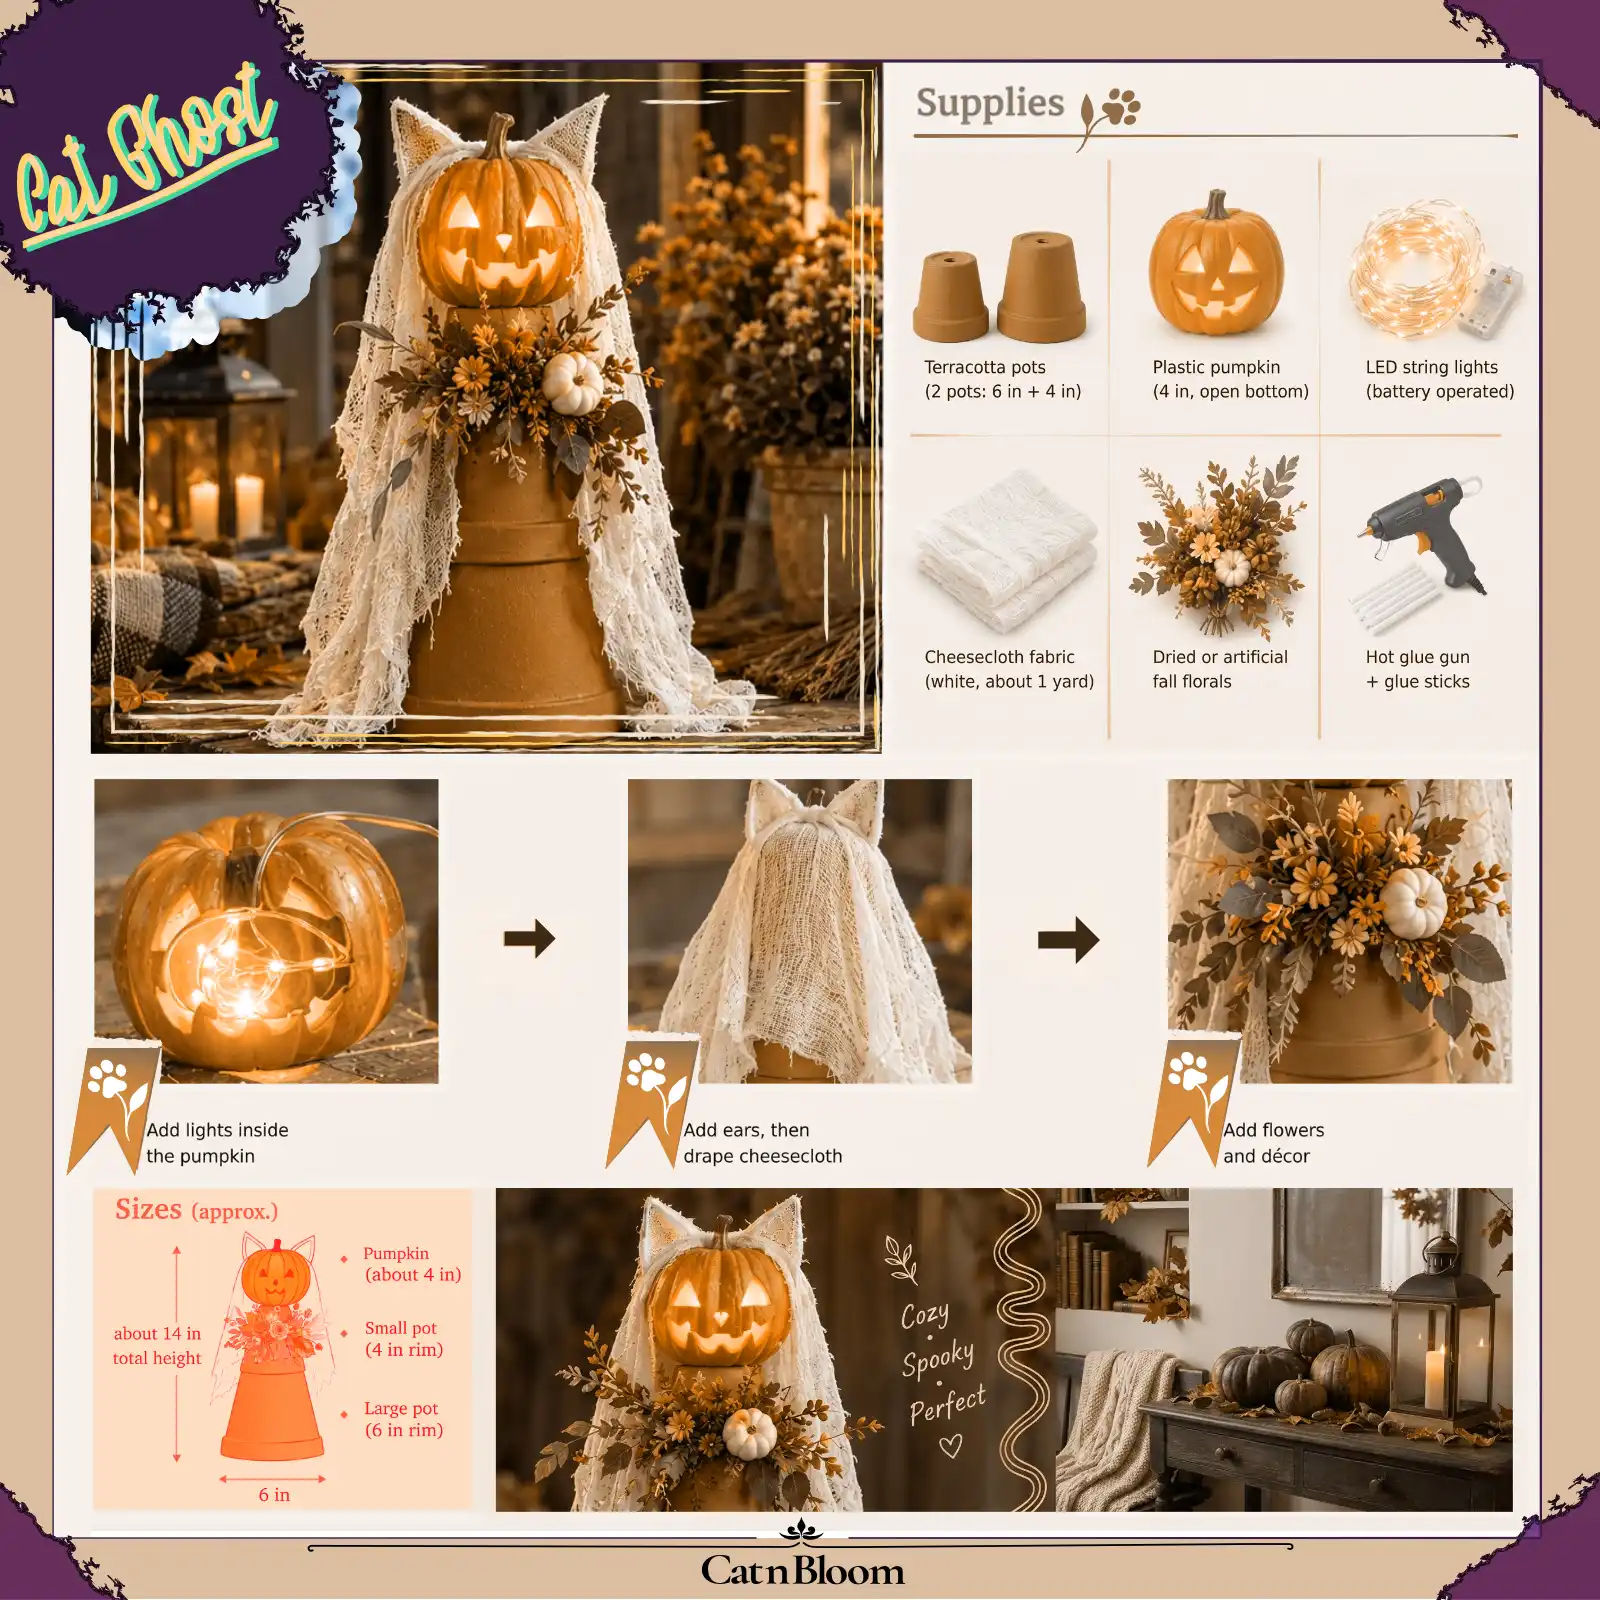
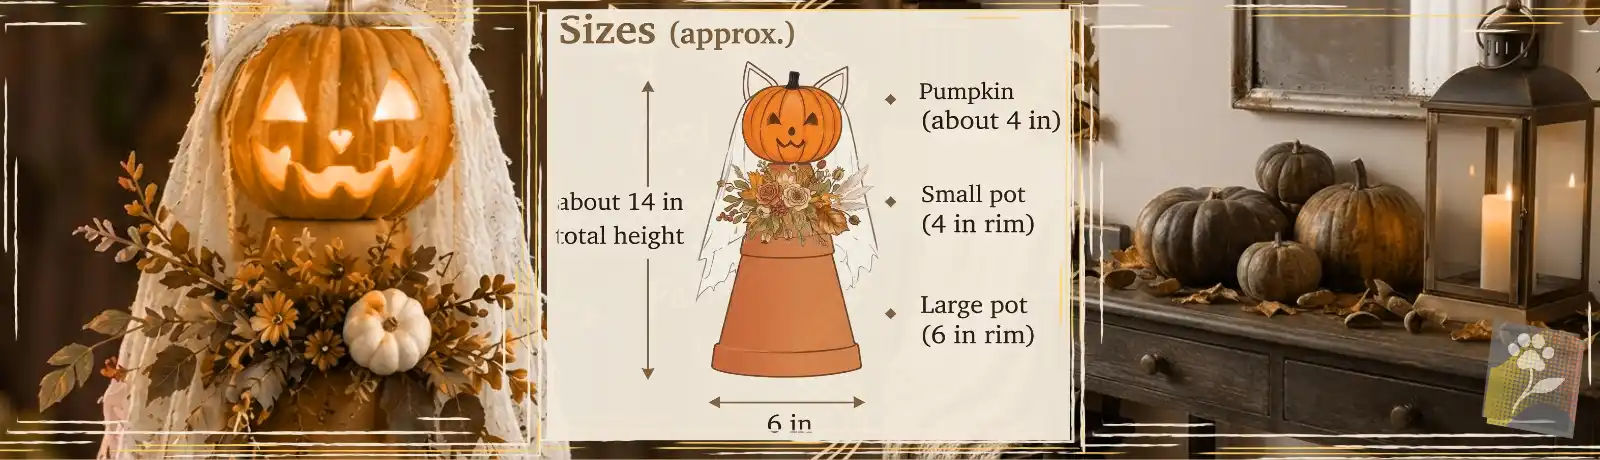
Halloween has a way of turning cats, plants and a bit of mischief into one small scene. This time it’s a ghost with pointed ears, a glowing face and a collar of autumn flowers. It’s made from things you can find at a garden center and a craft store, and it fits on a mantel, a console table or a covered porch. It stands about 14 inches tall.
This is another project in our DIY series here at CatnBloom Studio, inspired by the mood of our Witchy Cats Plants designs. Follow it exactly, or change a few details and tell your own story.
The images in this note are visual mock-ups (AI-generated concept illustrations), not photos of a finished build. Proportions and materials are approximate, and we haven’t built this exact tower yet, so treat the sizes and the stability tips below as a well-reasoned starting point rather than a tested result.
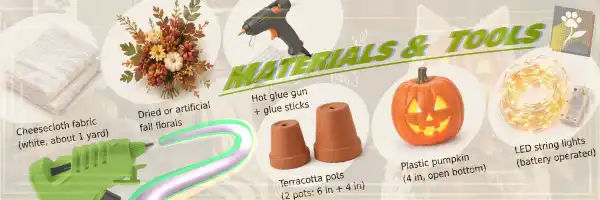
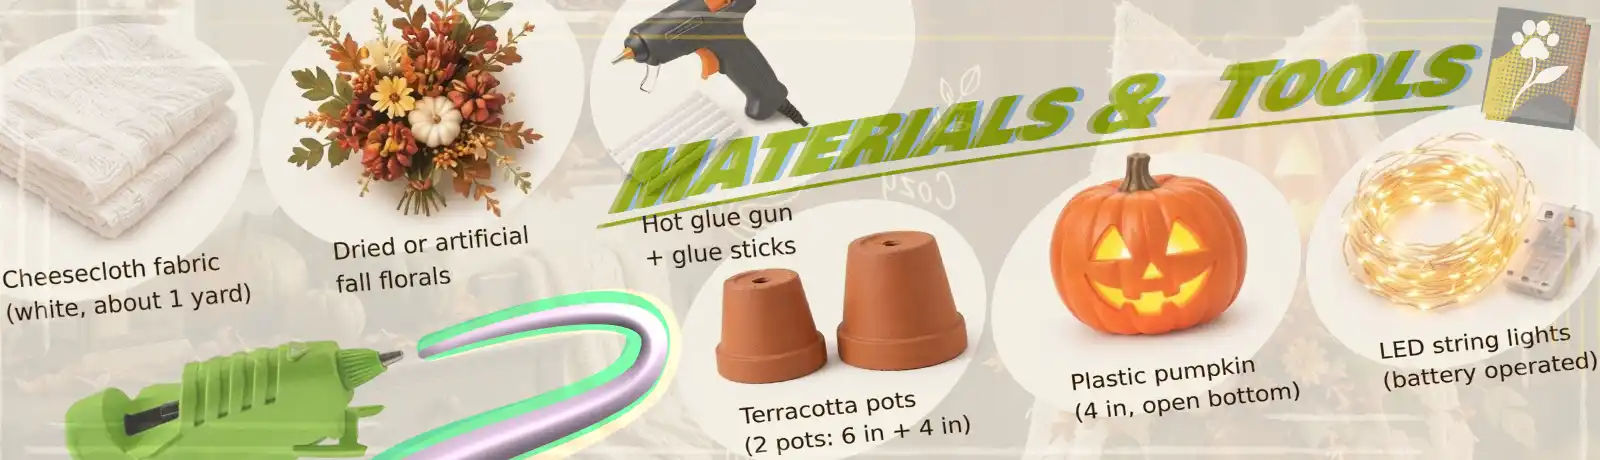
What you’ll need
- 2 terracotta pots: a 6-inch pot and a 4-inch pot (measured across the rim)
- 1 lightweight hollow plastic pumpkin, about 4 inches, with a cut-out face and an open bottom
- 1 short strand of battery-operated warm-white LED lights, ideally with a timer
- about 1 yard of white cheesecloth
- a few stems of artificial fall flowers and leaves in rust, mustard, burgundy, olive and cream
- a small piece of stiff felt or thin cardboard for the ears
- a hot glue gun, and optionally museum putty
One thing to check before you buy: the rim of the small pot should be no wider than the flat bottom of the large one. A 6-inch and a 4-inch pot should fit together well (the bottom of a 6-inch pot is roughly 4.25 inches across), but sizes vary between makers, so a quick look with a ruler helps. A 6 + 5 pair won’t work, because the 5-inch rim is wider than the bottom of the large pot. An 8 + 5 pair works too, but it gets bulky.
LED lights only. Cheesecloth burns easily, so keep real candles and anything hot well away from the finished piece. Hot glue is hot, so kids will need a grown-up for that part.
How to build it
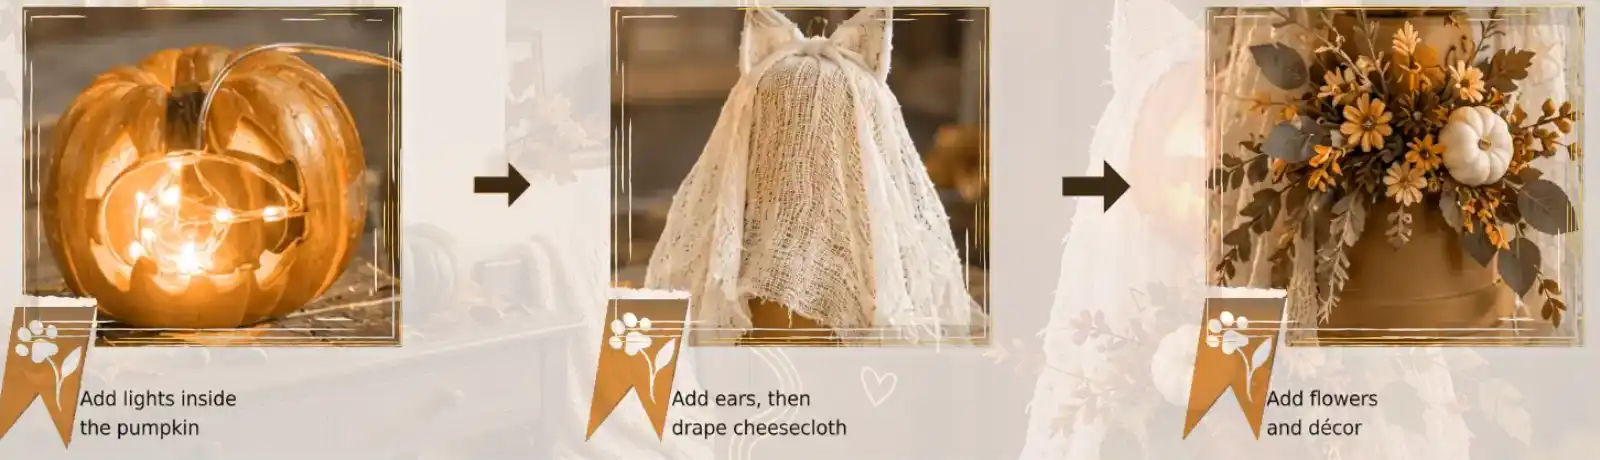
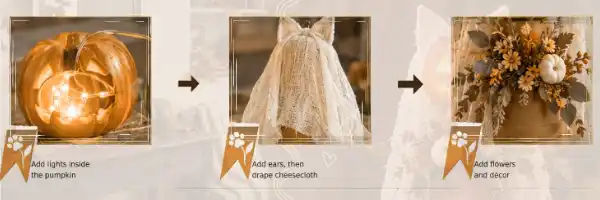
Here are all main steps at a glance. The drawings are simple concept diagrams, not photos.
Step 1. Stack the pots
Turn both pots upside down. Put the large pot on the table, rim down, and set the small pot on its flat bottom, also rim down. Make sure the pots are clean and dry first, since terracotta is dusty. Check that nothing wobbles, then add a few dabs of hot glue between them. Or skip the glue and keep them loose, which makes storage easier.
Step 2. Light the pumpkin
Tuck the LED strand inside the pumpkin, with the battery pack inside too and the switch within reach. Turn it on and check the glow.
Step 3. Seat the pumpkin
Center the pumpkin on the flat bottom of the small pot. A 4-inch pumpkin is a little wider than that bottom, so it will overhang slightly, like a head on a neck. Test it dry first, then give the tower a very gentle nudge to see how it behaves.
A few pea-sized pieces of museum putty can help, but putty is no guarantee of stability. If the pumpkin still wobbles, use a small dab of hot glue instead. In that case, keep the battery pack outside the pumpkin, hidden behind the veil, so you can still reach the switch.

Step 4. Make the ears
Cut two triangles about 2 inches tall from felt or cardboard, each with a small tab at the base. Wrap each one in a layer of cheesecloth and glue the tabs to the top of the pumpkin, one on each side of the stem, leaning slightly outward.
Step 5. Drape the ghost
Unfold the cheesecloth into a single thin layer. Lay it over the back and sides of the pumpkin, just below the ears, so the face stays open. Tack it at the back with a small dab of glue and let the rest fall over the pots. Uneven folds and frayed edges are part of the charm.
Step 6. Add the flowers
The flat bottom of the large pot makes a little shelf around the small one. Glue a small bunch of flowers and leaves there, with maybe a tiny cream pumpkin, and tuck the edges of the cheesecloth under it. A narrow collar is enough. Too many flowers will hide the terracotta.
The finished piece is top-heavy, so put it on a flat, steady surface, away from table edges, curious pets and wind.
Make it smaller, or much bigger
Pots come in every size, so the same idea scales. For a miniature version, use 2–3 inch pots, a mini pumpkin or gourd and a few fairy lights on a coin-cell pack, and it fits on a desk or a windowsill. For a big one, use 12–16 inch pots and a larger pumpkin. For outdoors you’d also need outdoor-rated lights, something heavy in the bottom pot and a sheltered spot, because cheesecloth and rain don’t mix, and a real pumpkin lasts only a week or two. In this note we stay with the cozy indoor size.
How much does it cost?
Rough planning figures, not a live price check: two pots $5–10, a pumpkin $4–8, battery lights $5–9, cheesecloth $3–6 and flowers $4–8. That’s roughly $20–40 in total. Treat it as a guide, not a shopping list. You may already own half of it, and we don’t count the glue gun.
We don’t use affiliate links and we don’t earn a commission on anything mentioned here.
Show us yours
Maybe yours will have a different pumpkin, a black cat tail, or a whole family of ghosts in different sizes. If you share it on Instagram, tag us and let us know we can feature it.